Spring Boot Kotlin - Bootstrapping
This chapter will explain you how to perform bootstrapping on a Spring Boot application.
Spring Initializer
- There are many ways to create a Project Spring Boot, but in this tutorial we will take you to create a Project Spring Boot on the Spring Initializer website.
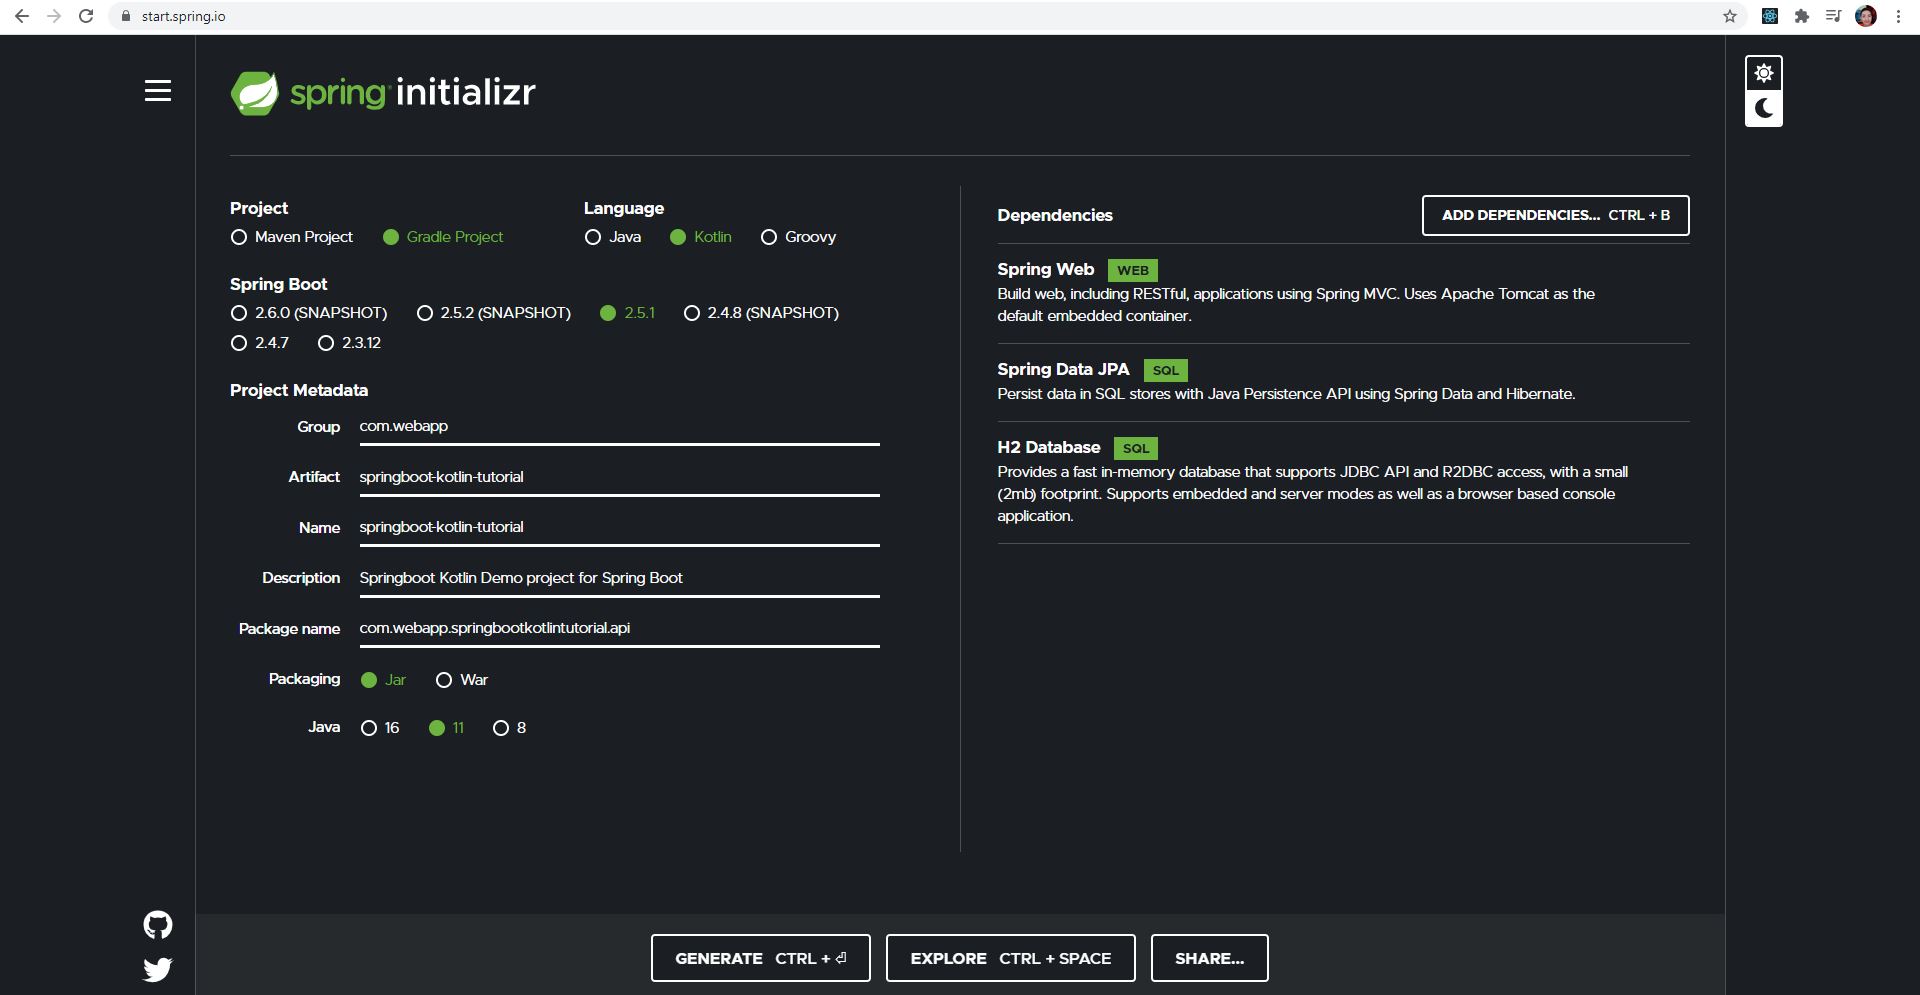
In the image above, you will see a dashboard that is used to create a Project Spring Boot. We will now take you through each point in this dashboard
Project: In this section, you are required to select the type of Project Manager (Project Manager is the one who can properly organize the dependencies that you need to use in the project, and on the other hand can set the version of the project and more, etc.) And for project managers, there are two as follows:
- Maven is a project management tool that is open-source software and is primarily used for Java Project.
- Gradle is an open-source automation tool based on the concepts of Apache Maven and Apache Ant.
The reason you should use Gradle is because it avoids tracking the same tasks and it only tracks the tasks that have been changed, so it provides faster processing.
Language: In this section you are required to select the following language types:
- Java is a widely used programming language running on millions of devices including PCs, laptops, mobile devices, gaming consoles, medical devices and more. The synctax of the Java language is dependent on the C and C++ languages.
- Kotlin is a new open source programming language similar to Java and JavaScript. It is a rich language that brings together many functions in one place. Kotlin currently runs on JVMs.
- Groovy is object oriented and has a Java-like format. Groovy code is compiled into Java Bytecode and can run on any platform with JRE.
Spring Boot: In this section you are required to select the version of Spring Boot, so you should choose the latest version.
Project Metadata: In this section you are required to fill in some project related information:
- Group specifies the name of the
package. - Artifact is the name of the
Application. - Name same as
Artifact. - Description as a description of the
Project. - Package name same as
Group. - Packaging is a selection of types of
packagingforbuildto take to use, and there are two:- Jar is a Java Application Archive that can run programs on your computer.
- War is a Web Application Archive that can only run programs on the server.
- Java is a selection of
versionsof Java, so you can choose whichversionyou want to use.
- Group specifies the name of the
Dependencies: In this section, you are required to select a type of dependency, so you can select the dependencies as shown in the picture or select only one Spring Web.
After this you will see three more buttons below:
- GENERATE: a button for creating a Spring Boot Project.
- EXPLOER: a button to view the Structure of Spring Boot Project.
- SHARE...: a button for sharing Spring Boot Project.
After clicking the Generate button, it provides a
zip fileas shown below:

- Then you can extract the
zip file, then open the IntelliJ IDEA IDE and open the project you just extracted.

- After opening the project in the IntelliJ IDEA IDE, you have to wait for the IntelliJ IDEA IDE to
syncthe project completely before you can start developing this project.
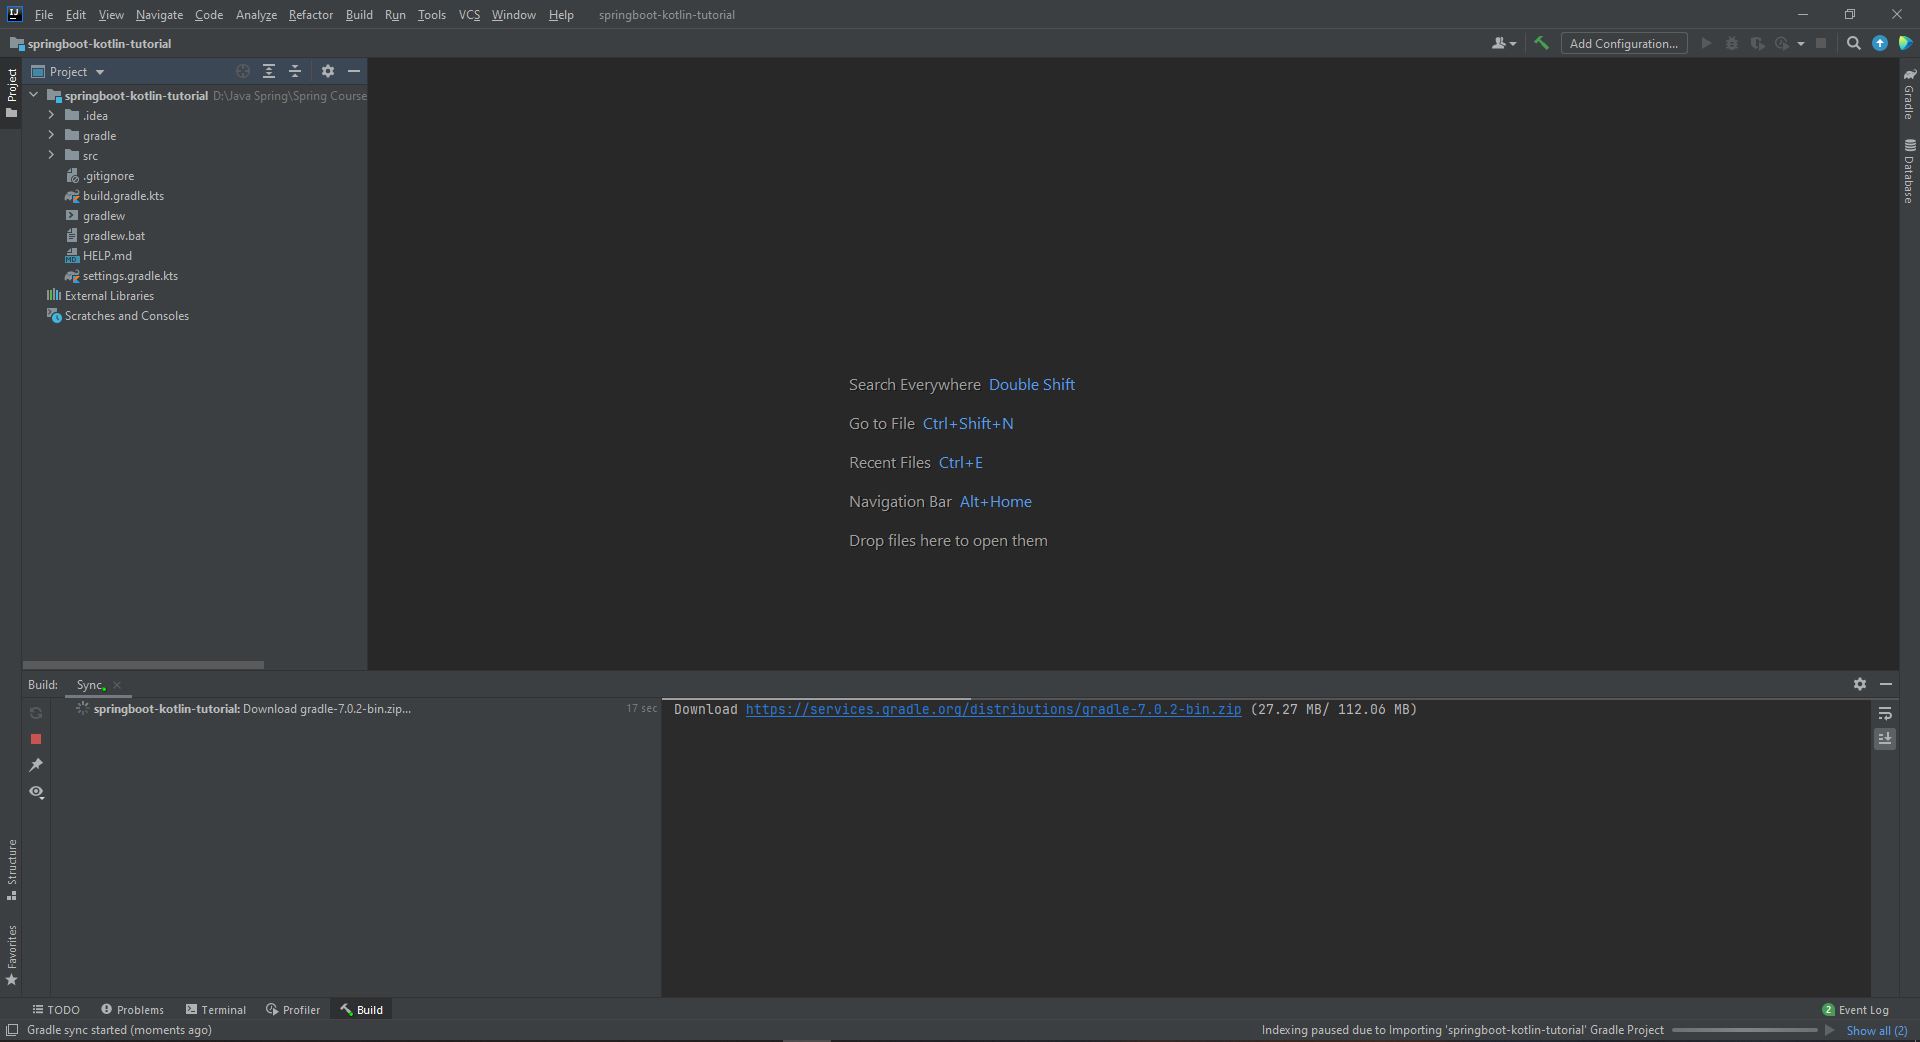
- After the project is
synced, you can take a look at the project structure as shown below:
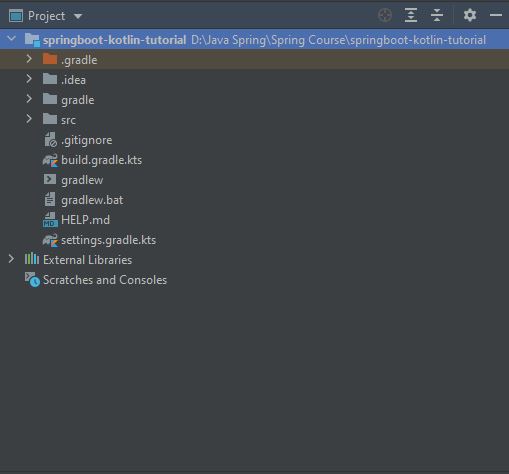
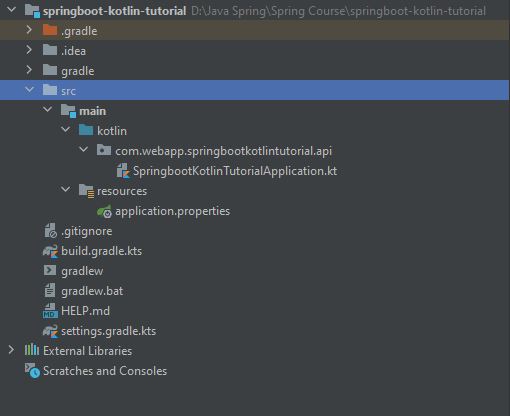
- The image below is a project structure that was extracted from a
zip fileand has not been properly configured.
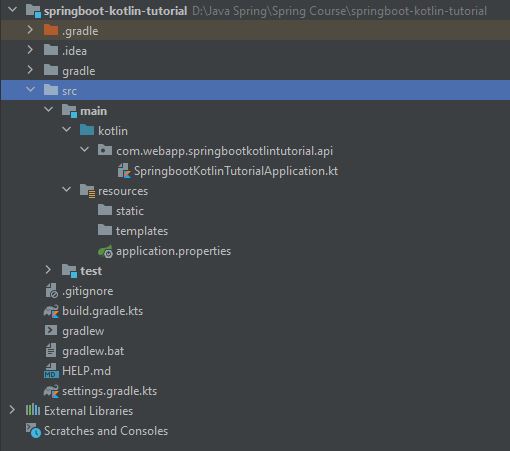
- The image below is a project structure that deletes useless folders or files and organizes them properly.
- The image below is the
build.gradle.ktsfile, where you can add additionaldependenciesor modifyversionsof Java, Kotlin, Spring Boot, etc.

- Find out more about
build.gradle.ktsfile:
import org.jetbrains.kotlin.gradle.tasks.KotlinCompile

plugins {
  id("org.springframework.boot") version "2.5.1"
  id("io.spring.dependency-management") version "1.0.11.RELEASE"
  kotlin("jvm") version "1.5.10"
  kotlin("plugin.spring") version "1.5.10"
  kotlin("plugin.jpa") version "1.5.10"
}
- Plugins: In addition to the Kotlin Gradle plugin, the default
configurationis thekotlin-spring-plugindeclaration, which allows theclassesandmethodsto be open, allowing other classes to beinherited(classes in Kotlin are not As in Java, if you do not put the open keyword in front of the class, it will be the final class). On the other hand, to be able to useKotlin non-nullable propertieswith JPA, you need to have the Kotlin JPA plugin enabled. This will createno-arg constructorsfor all classesannotatedwith@Entity,@MappedSuperclass, or@Embeddeable.
group = "com.webapp"
version = "0.0.1-SNAPSHOT"
java.soruceCompatibility = JavaVersion.VERSION_11
- Above is a
groupthat is thepackage name,versionis the version of theapplicationthat wasbuilt,java.soruceCompatibilityis the setting for theversionof Java forbuild.
repositories {
  mavenCentral()
}
- Repositories: Set the location for downloading
dependenciesto use in the Project, as when you putmavenCentral(), it will go to the Maven Central Repository download site.
dependencies {
  implementation("org.springframework.boot:spring-boot-starter-data-jpa")
  implementation("org.springframework.boot:spring-boot-starter-web")
  implementation("com.fasterxml.jackson.module:jackson-module-kotlin")
  implementation("org.jetbrains.kotlin:kotlin-reflect")
  implementation("org.jetbrains.kotlin:kotlin-stdlib-jdk8")
  runtimeOnly("com.h2database:h2")
  testImplementation("org.springframework.boot:spring-boot-starter-test")
}
Dependencies: The three Kotlin libraries required for Project Spring Boot are as follows:
- kotlin-stdlib-jdk8: The Kotlin library standard of the Java 8 Variant.
- kotlin-reflect: A Kotlin reflection library.
- jackson-module-kotlin: Provides support for
serialization/deserializationof Kotlin classes and data classes.
And there are some
dependenciesthat belong to Spring and Database as follows:- spring-boot-starter-data-jpa: A Spring Data JPA library.
- spring-boot-starter-web: A Spring Web library.
- h2: The library of the H2 Database.
- spring-boot-starter-test: Spring Test library.
On the other hand, in every download
dependencies, there is the use of different functions, such asimplementationused to run thosedependencies, starting from theimplementation(when coding),runtimeOnlyis only run atrun timeand thetestImplementationis run during thetest.
tasks.withType<KotlinCompile> {
  kotlinOptions {
    freeCompilerArgs = listOf("-Xjsr305=strict")
    jvmTarget = "11"
  }
}
- Compile options: The main feature of Kotlin is
null-safety, as it solves a lot of problems whencompiling time, it avoids the famous exceptionNullPointerExceptionatrun time. To add thisnull-safetyfunction, you need to add-Xjsr305compiler with flag withstrict.
tasks.withType<Test> {
  useJUnitPlatform()
}
- Test options: A registration for
testingusing JUnit5.
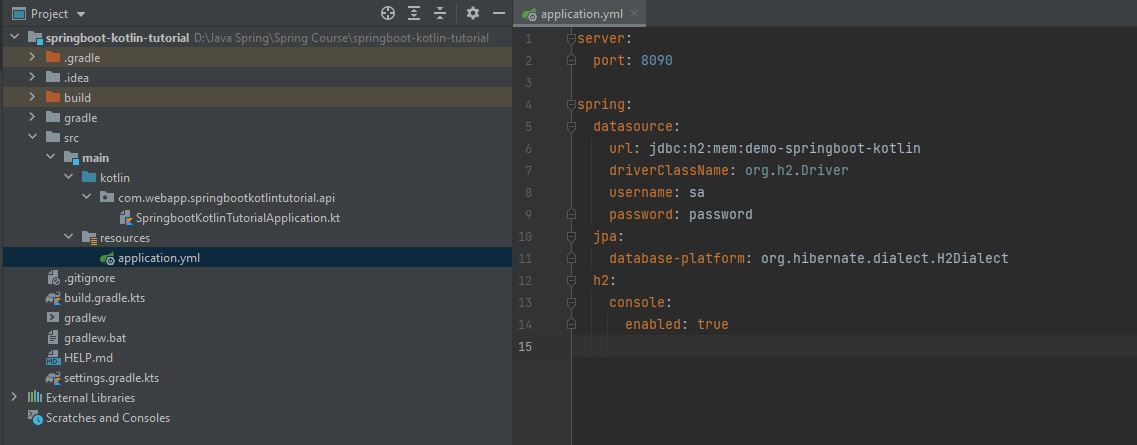
- The following image is in the
application.propertiesfile, but we have modified the fileextensiontoyml, and in this file we need to write aconfigurationwith H2 Database to be able to connect to H2 Database.
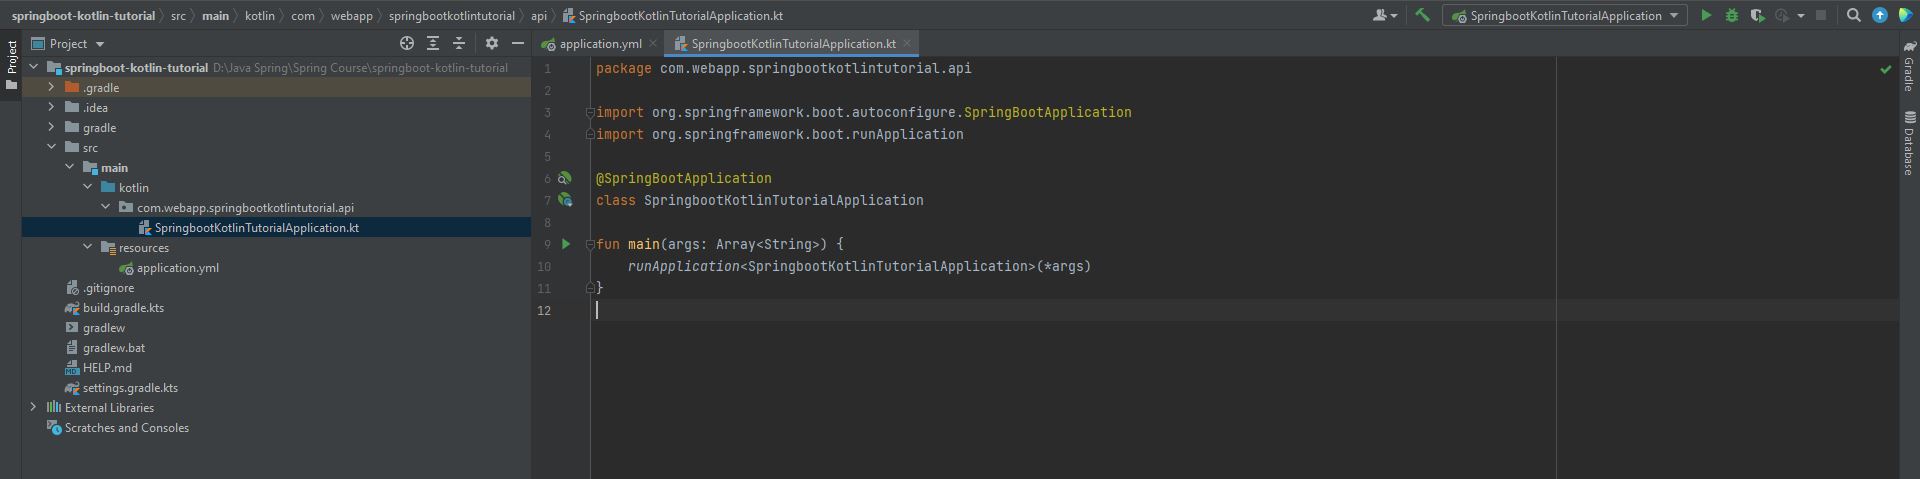
- The image below is the file that is the Main Application in Spring Boot and when you press the ▶ button to execute the program.
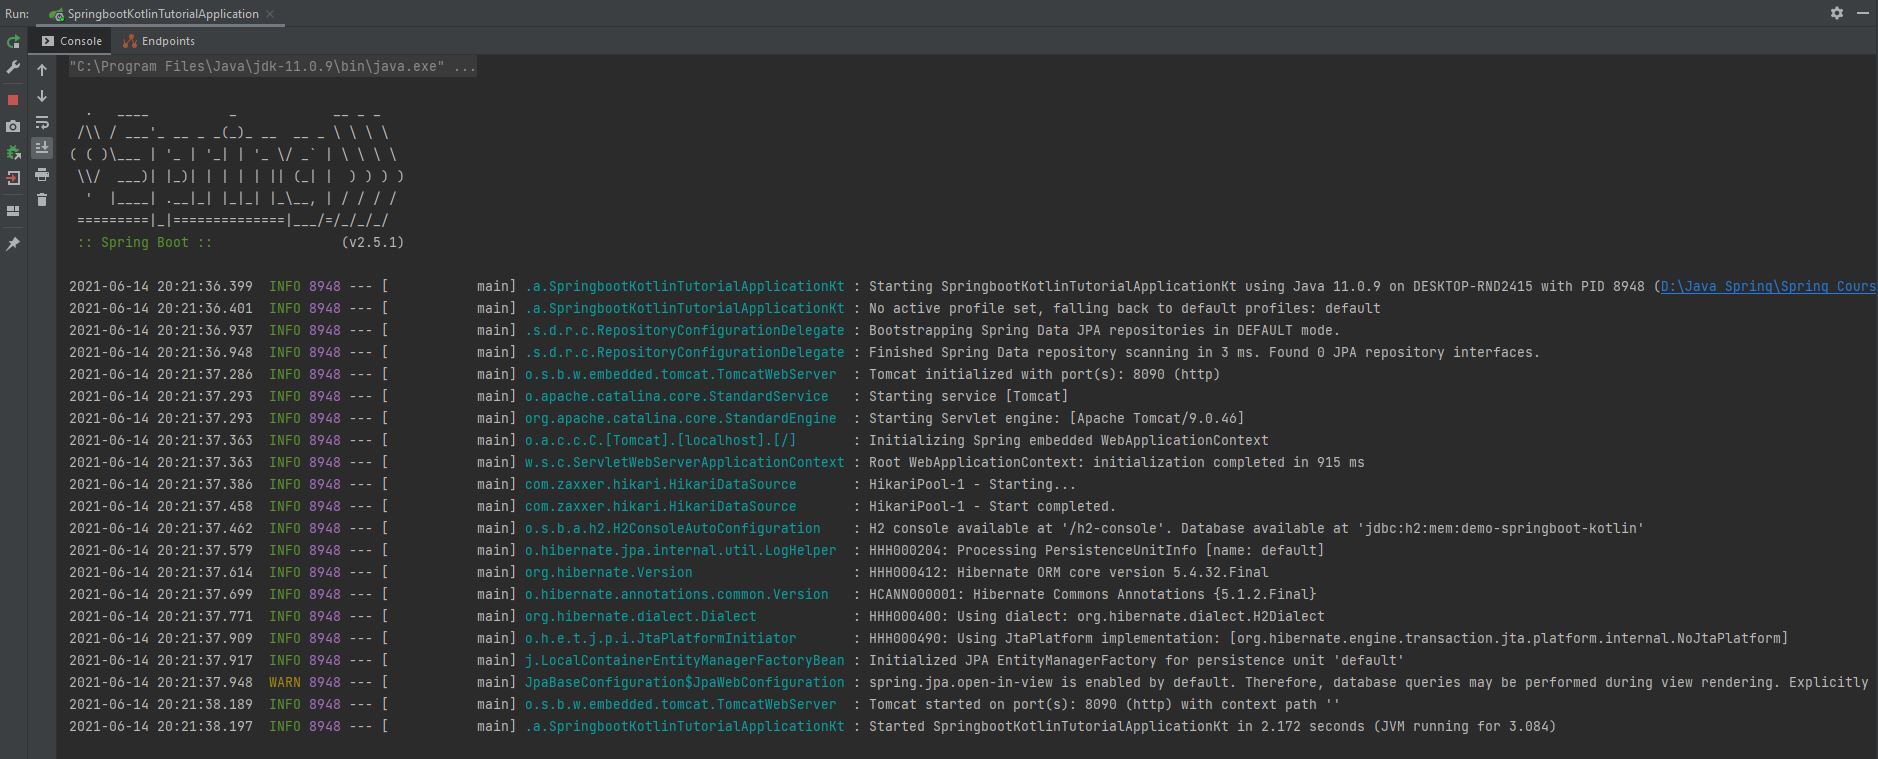
- The image below is the Console Logger where the program is executed.
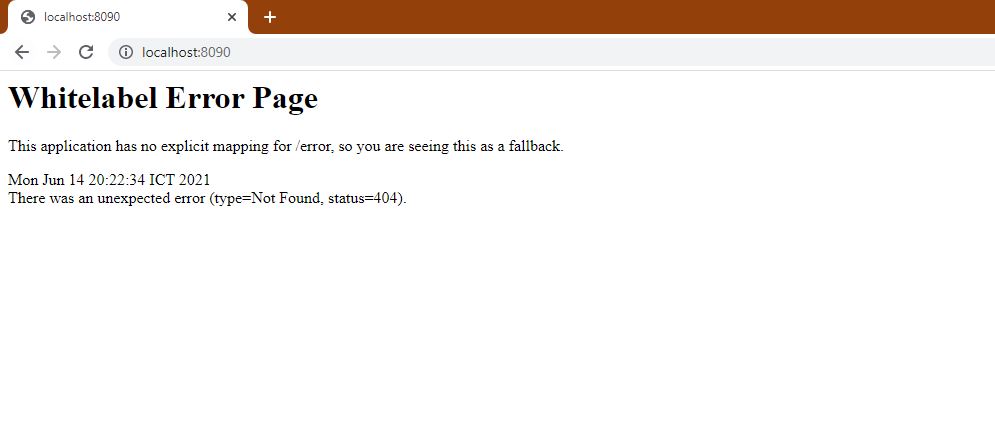
- The image below is when the program is successfully executed, then go to view the results on the browser. The reason it displays the word
Whitelabel Error Pageis because you have not yet created a Controller for this page.
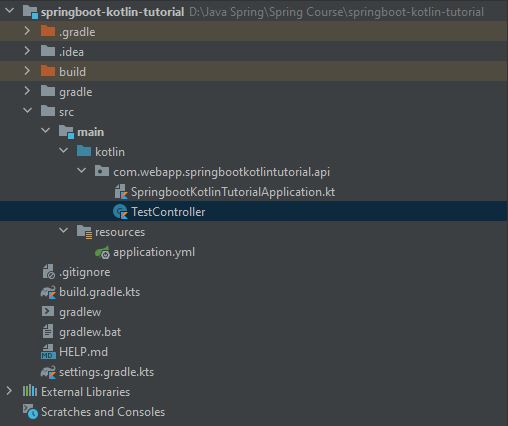
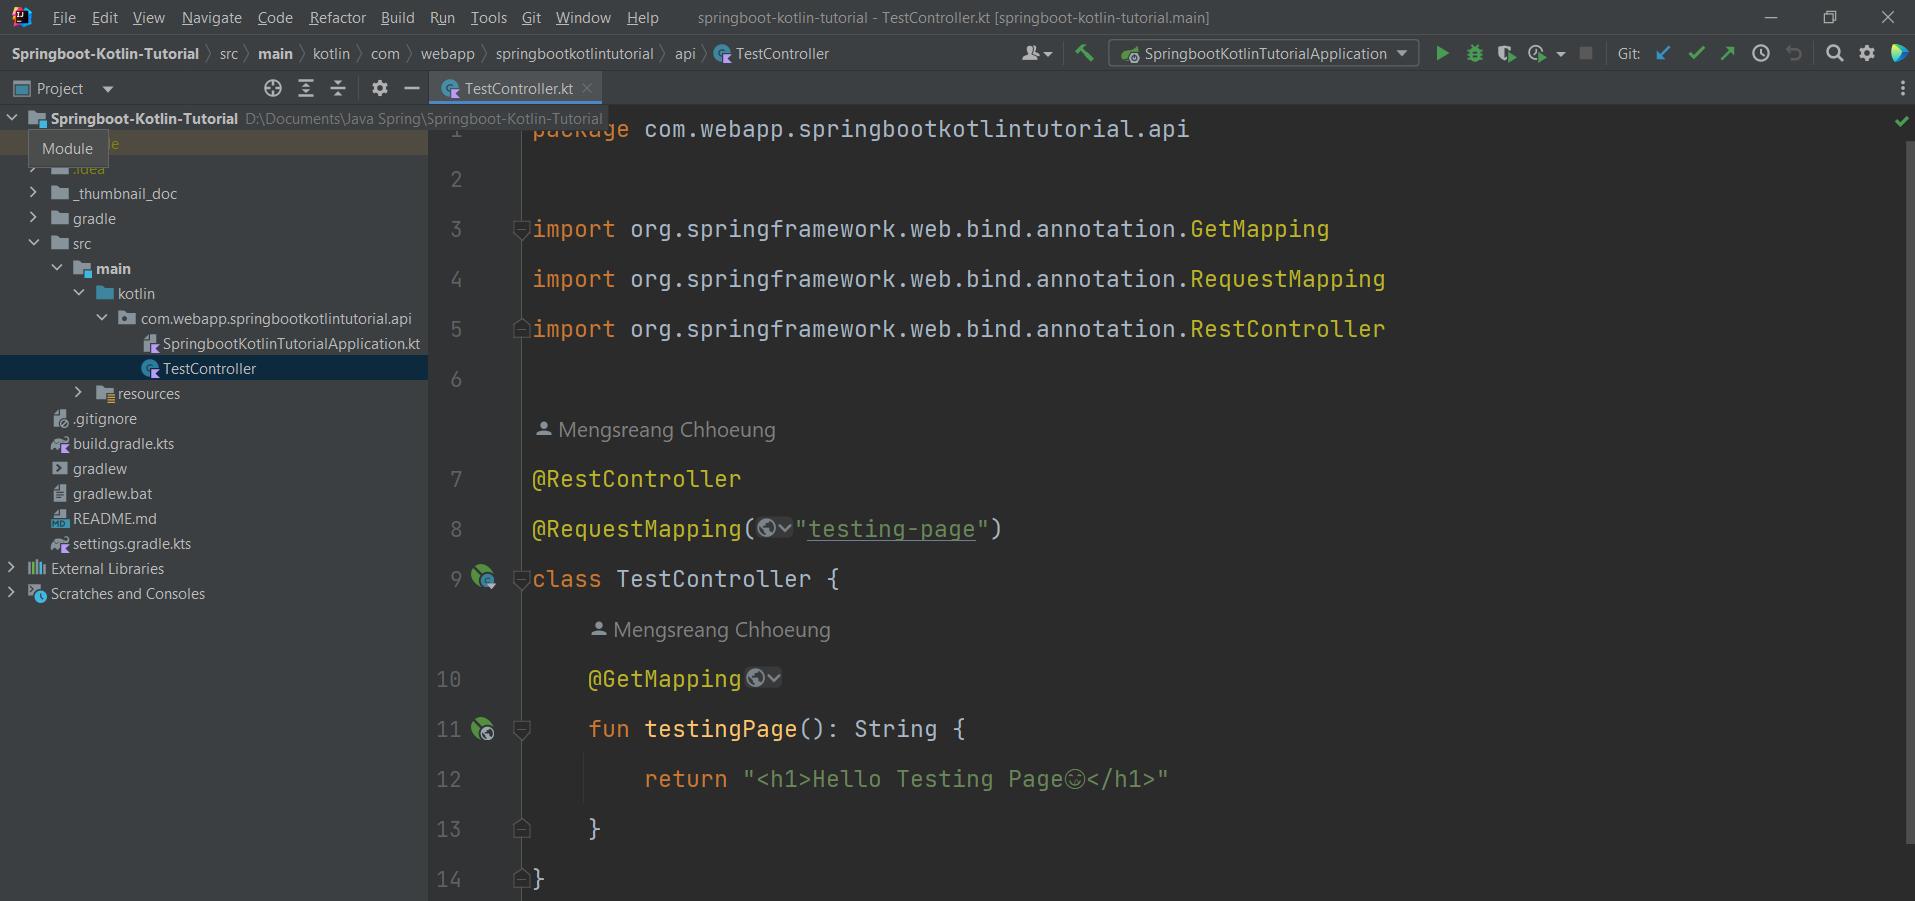
- The image below will take you to create a file called TestController.
- In the TestController file, there will be a path creation for the
'/testing-page'and a Get function.
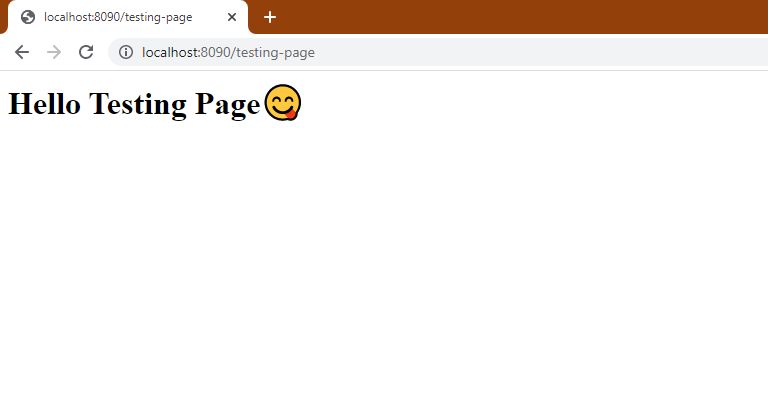
- After creating a controller and executing the program again, and after successful execution, go to the results on the
'/testing-page'will see the following results:
Summary
- After studying this chapter, you will be able to create your own Project Spring Boot.